Stay in touch!

Never miss out on the latest articles and get sneak peeks of our favorite classes.

6 Different Ways of Shading With a Pencil

ArtPassionWellbeingHow-to

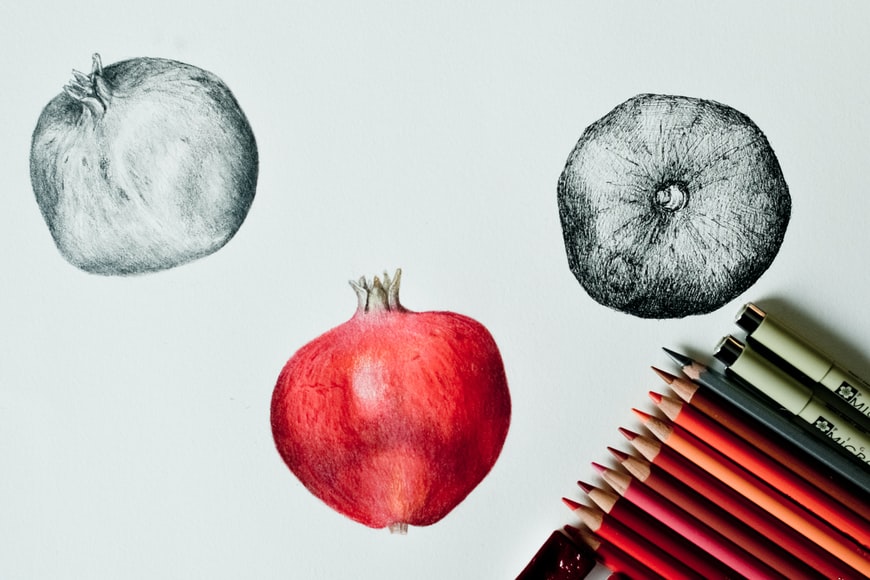
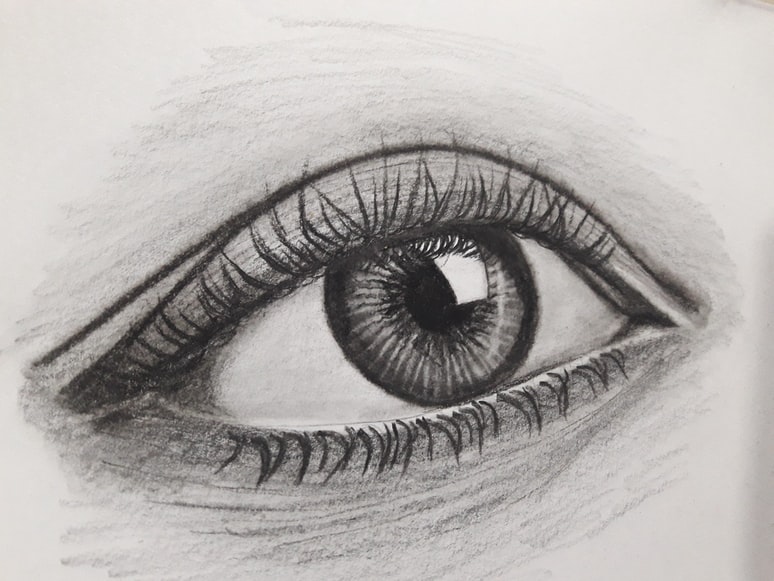
We will go over six different ways to achieve various shading effects with only your pencil.

quote icon
Directional shading is especially useful for three-dimensional objects.

1. Cross-Hatching

Cross-hatching is a common yet significant technique to achieve different tones and add texture to your work.


To achieve this technique, put down a layer of parallel lines in the area you want to shade. Then do another layer of parallel lines across these.


Your second layer can be perfectly or nearly perpendicular to the first set of lines. Use your judgment based on what you want the finished product to look like. Continue to build up your line layers until you have the tone you want.


To practice, try cross-hatching and changing up the spacing between the parallel lines, the thickness of individual lines, and the number of perpendicular lines you lay on top. Make some lines thick and others thin. Do this until you have a good idea of how these changes affect the final look.

 
drawing

2. Directional Shading

When you work with a physical medium like a pencil (as opposed to digital) you can see the direction of your strokes. This is true even if you’re making heavy and dark marks.


You can take advantage of this by choosing to exaggerate your strokes and let them show clearly. Take a piece of paper and shade vertically, then next to your vertical shading, shade horizontally.


Even if you use a very soft smudgy lead, you will see which way the strokes are going, creating clear spaces on the page with an edge between the directional change.


Directional shading is especially useful for three-dimensional objects. Draw a cube and shade one plane vertically, and another horizontally.


You will notice there is an illusion of depth as the strokes appear to move away from you, or reach forward. They will also clearly define the different sides of the object.


When learning how to shade with a pencil, directional shading is critical to keep in mind if you are not trying to create a new space on the page. If you’re shading a flat surface make sure you control the direction of your strokes and don’t change them partway through. The eye will read a sudden change in direction as an error on the flat surface.

 
pomegranate drawing


3. Stippling

Stippling is essentially dot-based shading. You can use the tip of your pencil to jab the page and use those marks to create shading. The closer you make the dots the darker that part of your image will be. Placing them further apart with more white space will make it seem lighter.


Stippling is time-consuming but can help give your drawing texture. Like with the other methods you should experiment with spacing and weight to see what stippling can do for you.


Spacing is key with this technique. Many tiny dots gathered closely will appear very different from the same size marks scattered around. The closer together the smoother the shading will appear. But they will both create a noticeable grainy quality, even if it’s subtle. Make sure to figure out what effect you like best.

pencil


4. Blending

Blending will give you the smoothest finish, just be careful you don’t accidentally blend in your careful linework. Blending is pretty easy.


Lay down some color using the side of your pencil. Change up the pressure for lighter and darker values. Once you’ve shaded the area how you want, blend the tones for a seamless look.


Smudge the shaded area of your drawing and make sure to smudge any edges between values for a smooth look.


You can blend the dark into light areas making a sort of gradient look. Or you can choose to smudge a single value area simply to smooth out any visible strokes. Run your finger, brush, paper, etc across the area to smooth it out. You can blend all or some of your shading to make different effects and textures.

 
watercolour drawing


5. Contouring

Contouring is sort of like tracing. You have something drawn on the page and now you want to shade it. Contouring means building up lines by following the shape of your drawing. The more lines you have the darker the effect.


Contour lines can go in any direction, they just need to follow the natural shape of your subject. So you’ll end up with a lot of curved lines across the surface of your ball. You’ll notice that they help to highlight the roundness of the ball.


Like with all these techniques your shading can be as light or heavy as the drawing demands. You can also try incorporating other techniques. Try blending your contour lines. As long as you smudge by following your stroke direction your contouring will still be noticeable, though subtle.

6. Scribbling

Scribbling is a fun and quick shading tool. Scribbling might make you think of children coloring outside the lines, but it’s super useful for many different kinds of drawings. Scribbling is what it sounds like. You make darker and lighter areas of your piece by scribbling the pencil in the areas you want to shade.


Coil your scribbles more tightly or loosely to create different values. Feel free to overlap and change weight. Scribbles are also great because they create a particular textured look. Drawing curly hair with scribbles will look pretty realistic.


Things like leafy trees can also look pretty good using scribbling. It’s a bit less rigid than the other ways of shading, so natural shading objects will benefit from this messiness.

woman drawing


Conclusion

There are many different ways of shading with a pencil and we’ve only introduced you to some.


We’d recommend you change frequently how you use each of them to discover all the ways they can be implemented in your pencil drawings. You’ll find these simple shading tools can be used in endless ways to create cool visual effects. If you want to learn more about drawing take one of our classes.

realistic drawing of eye
Share this article
Back to top