
 Search


Share


 5 min read
March 22, 2022
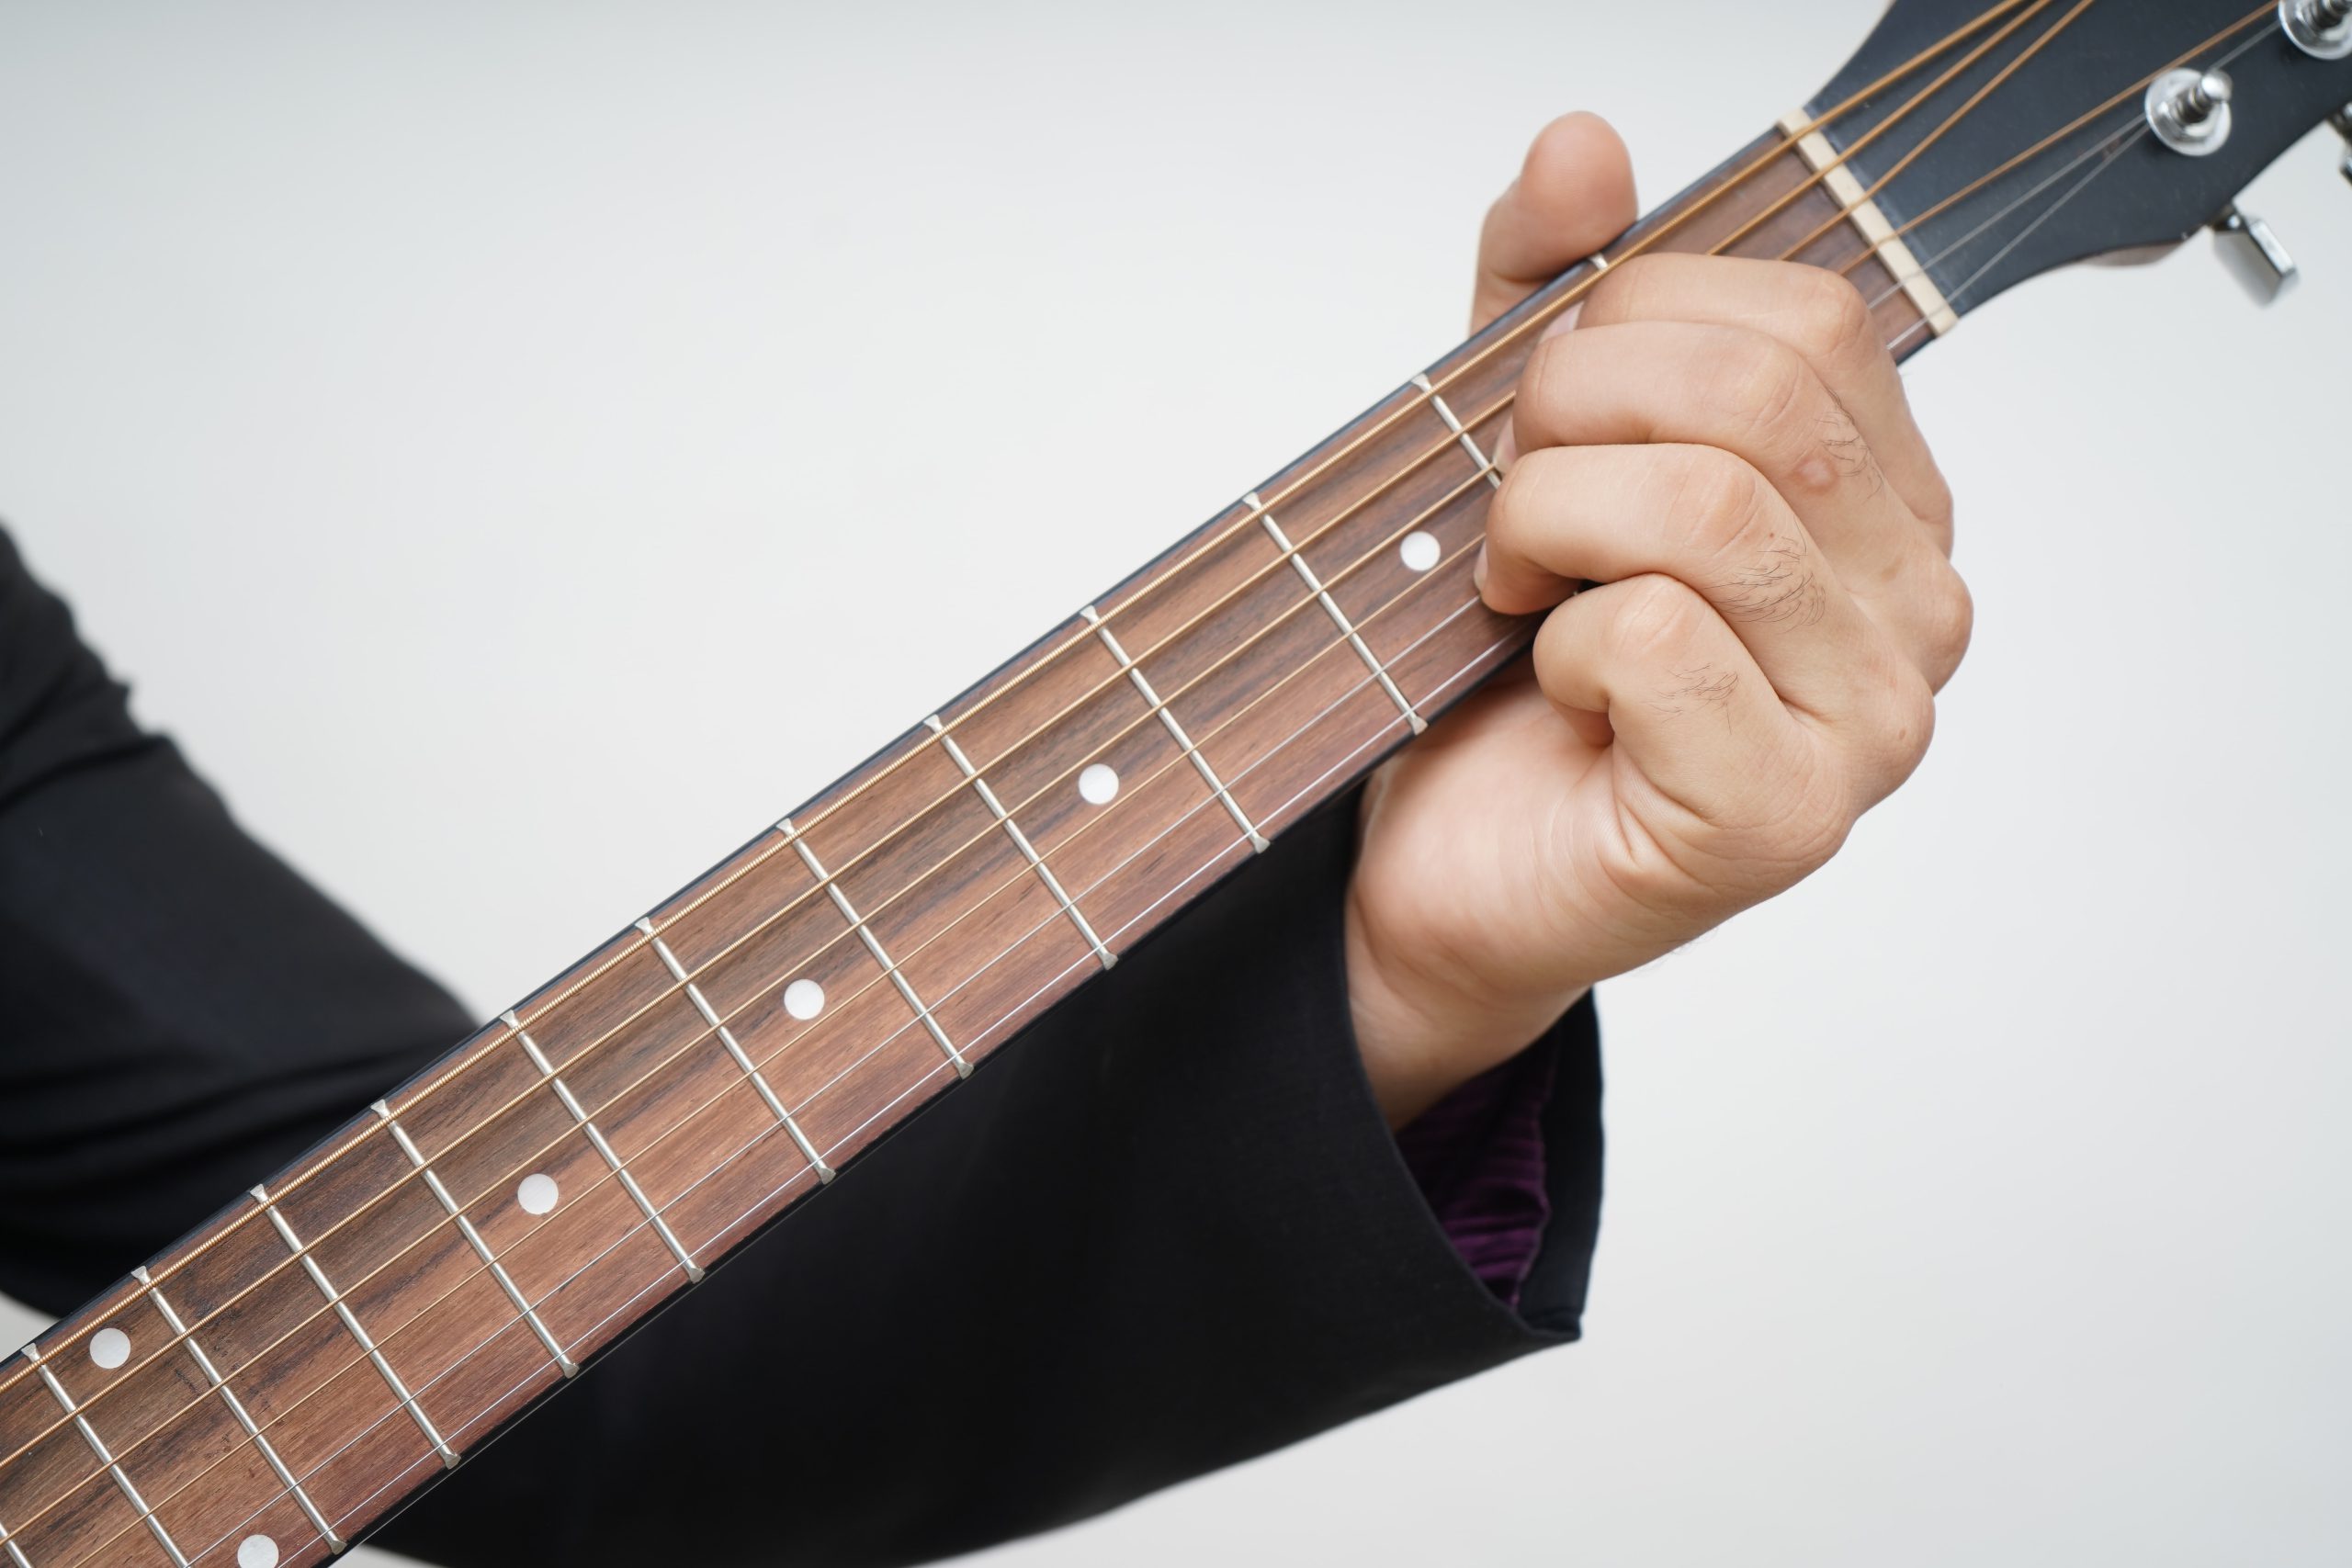
How to Tune Your Guitar and Why It’s Important
How to Tune Your Guitar and Why It’s Important
Whether you’ve just started learning guitar online or your rockstar uncle is trying to teach you the art of the shred, you simply must be able to tune your guitar.
Playing a guitar that’s in tune ensures that your musical ear is developing correctly. While it all might sound the same to you during your first few lessons, your brain will begin to recognize notes and chords as your skills improve. If your guitar is out of tune, you’ll be slower to develop your musical ear.
Our quick guide will teach you how to tune a guitar step-by-step. But first, we’ll explore some background information you’ll need for a successful tuning session.


Learn Music Online


Don't forget to share this article!
Meet Amphy
The largest marketplace for live
classes, connecting and enriching
humanity through knowledge.
 Find Online Teachers